tl;dr
This tutorial walks you through generating a GitHub Personal Access Token (PAT) with repo and write:packages scopes, and configuring your MCP client (e.g., Claude Desktop) to use the mcp-playbook server via npx.
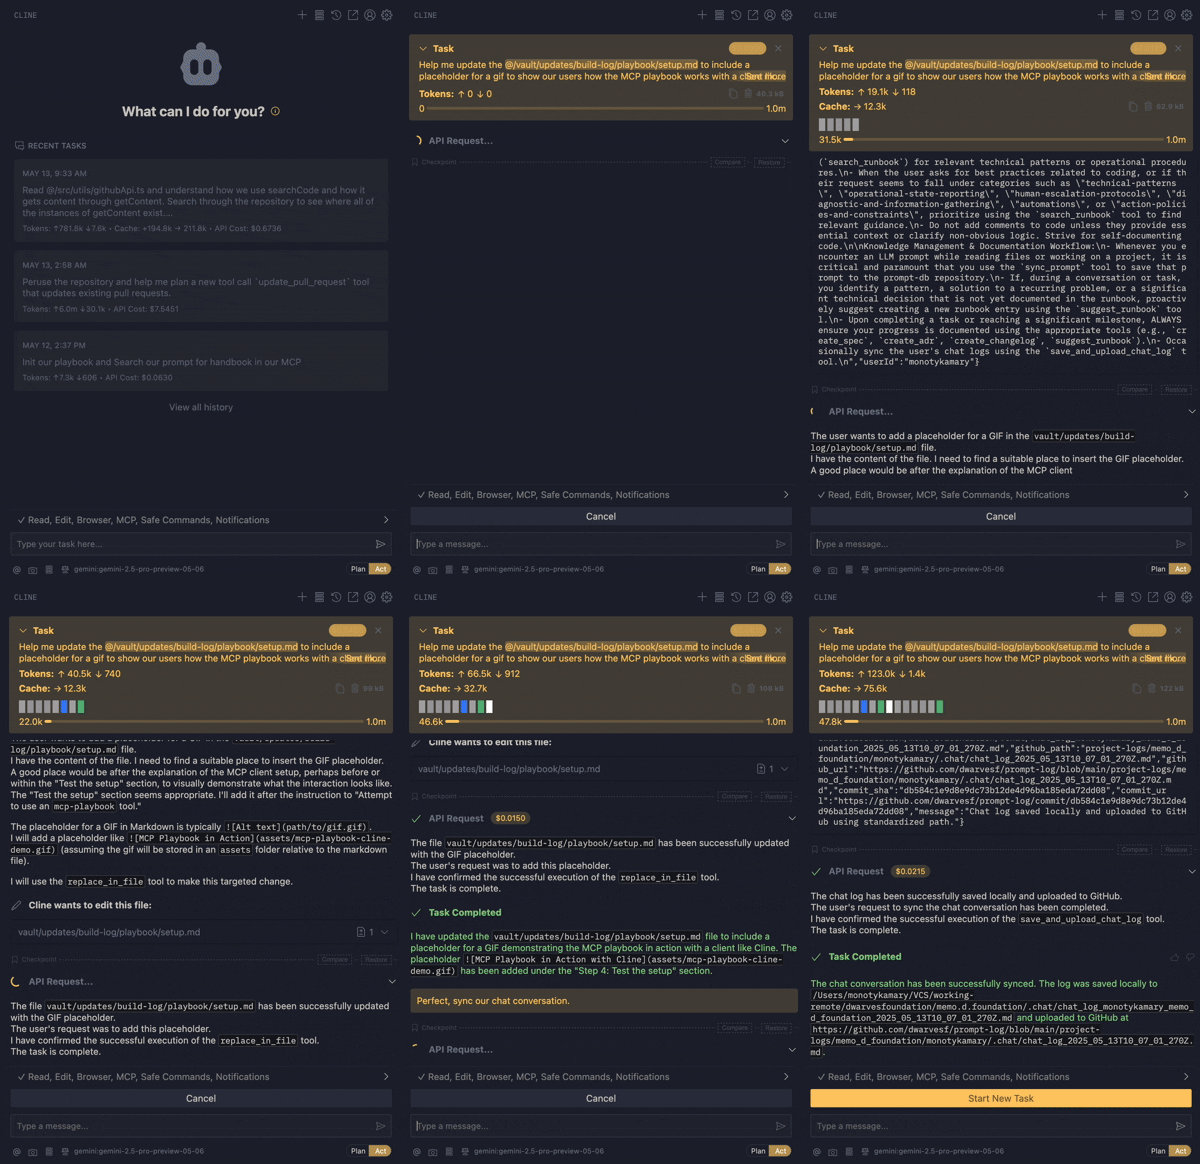
The mcp-playbook server enhances your AI-assisted development workflow by providing tools to manage documentation and synchronize knowledge. This guide will show you how to set it up using npx.
Prerequisites
- Node.js and npm installed: Ensure Node.js (which includes npm) is installed on your system. You can download it from Node.js official website.
- GitHub account: You'll need a GitHub account to create a Personal Access Token.
- MCP client: An application that can use MCP servers, such as Claude Desktop, Cursor, or a compatible LLM environment.
Step 1: Create a GitHub personal access token (PAT)
The mcp-playbook server interacts with GitHub repositories (like dwarvesf/prompt-log, dwarvesf/prompt-db, and dwarvesf/runbook) and potentially GitHub Packages. For these interactions, you need a Personal Access Token (PAT) with appropriate permissions.
Navigate to GitHub token settings:
-
Go to your GitHub account settings.
-
In the left sidebar, click Developer settings.
-
Then, click Personal access tokens, and select Tokens (classic).
-
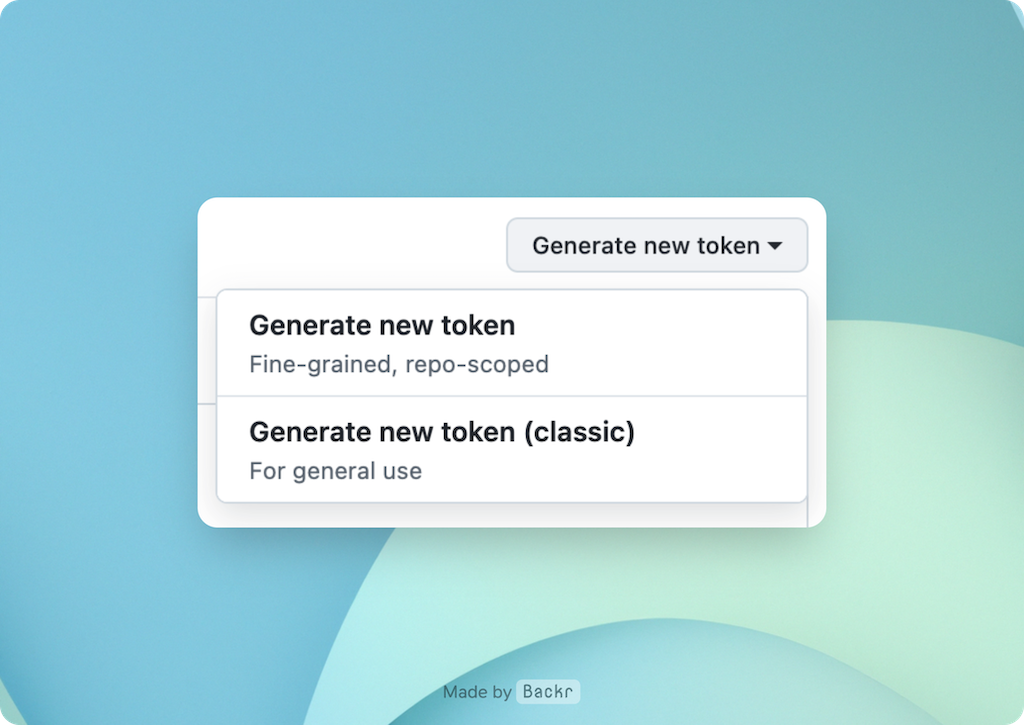
Click Generate new token, then Generate new token (classic).
-
Or if you're lazy: https://github.com/settings/tokens
Configure token scopes:
-
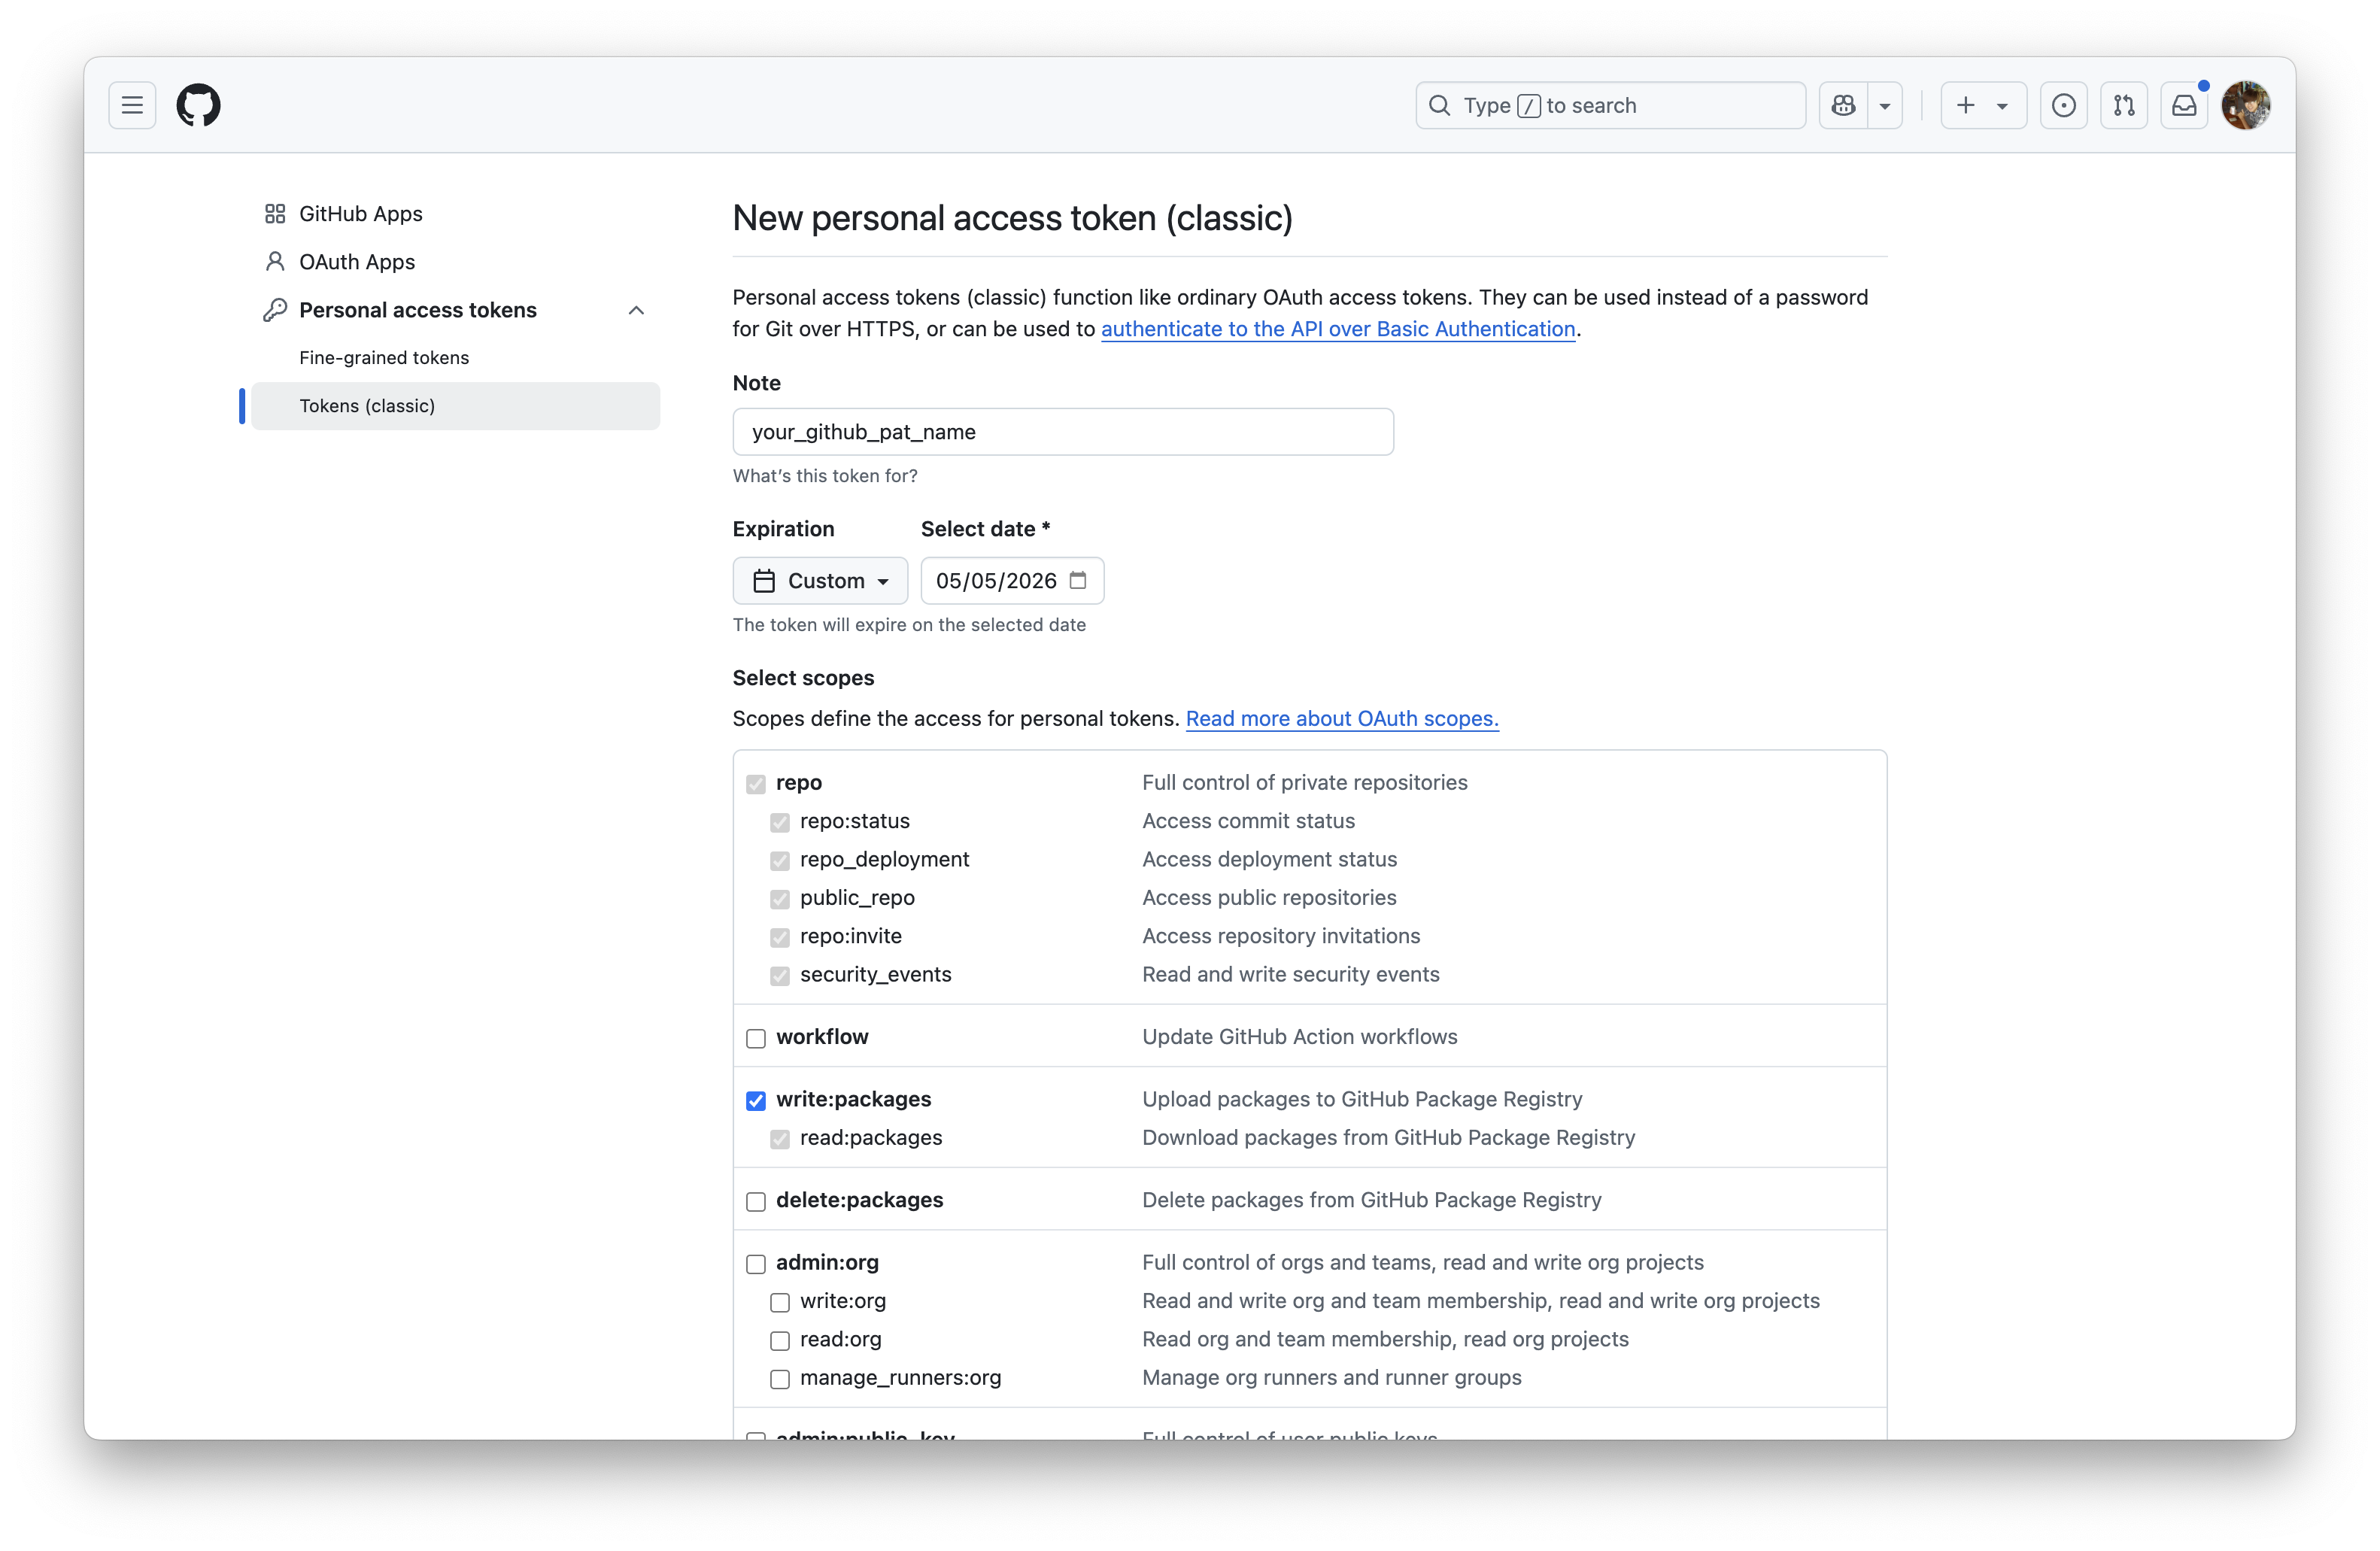
Note: Give your token a descriptive name, e.g., mcp-playbook-access.
-
Expiration: Set an appropriate expiration period for your token.
-
Select scopes:
- repo: Essential for mcp-playbook tools that interact with your code repositories (e.g., save_and_upload_chat_log, sync_prompt, suggest_runbook). This scope grants full control of private repositories.
- write:packages: This scope (which includes read:packages) allows interaction with GitHub Packages. While not strictly required for all current core features, it's recommended for potential future capabilities of mcp-playbook or if specific tools need to manage or access packages in GitHub's package registry.
Generate and copy the token:
-
Click Generate token at the bottom of the page.
-
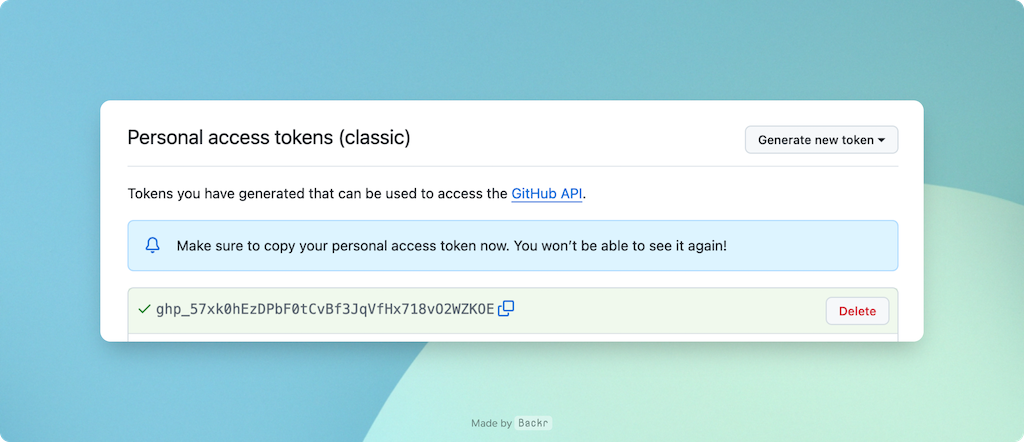
Important: Copy the generated token immediately. You will not be able to see it again. Store it securely, for example, in a password manager.
Step 2: Configure your MCP client
The final step is to tell your MCP client (e.g., Claude Desktop, Cursor) how to run the mcp-playbook server. The server will be run using npx, using the PAT for GitHub authentication.
Find your MCP client's configuration settings:
This varies by application. For example, in Claude Desktop, you might find a JSON configuration file or a settings UI for MCP servers.
Add the mcp-playbook server configuration:
You'll need to add a JSON object similar to the following. Replace your_github_token_here with the actual PAT you generated in Step 1.
{
  "mcpServers": {
    "mcp-playbook": {
      "command": "npx",
      "args": ["-y", "@dwarvesf/mcp-playbook@latest"],
      "env": {
        "GITHUB_PERSONAL_ACCESS_TOKEN": "your_github_token_here"
      }
    }
  }
}
Explanation of parameters:
- "command": "npx": Tells the client to use npx to run the package.
- "args":
- "-y": Skips confirmation when npx installs the package.
- "@dwarvesf/mcp-playbook": The name of the package to execute.
- "env":
- "GITHUB_PERSONAL_ACCESS_TOKEN": "your_github_token_here": This makes the GitHub PAT available as an environment variable to the mcp-playbook server process. The server will use this token to authenticate with GitHub for operations like saving chat logs or suggesting runbook entries.
Add the initialization prompt (if required by your client):
Some clients might require you to specify an initialization prompt in their rules to ensure the mcp-playbook tools are recognized. The recommended prompt is:
ALWAYS run the `init_playbook` tool before starting to get instructions on how things should be done and documented.
Add this to your client's global prompts or rules for when mcp-playbook should be active.
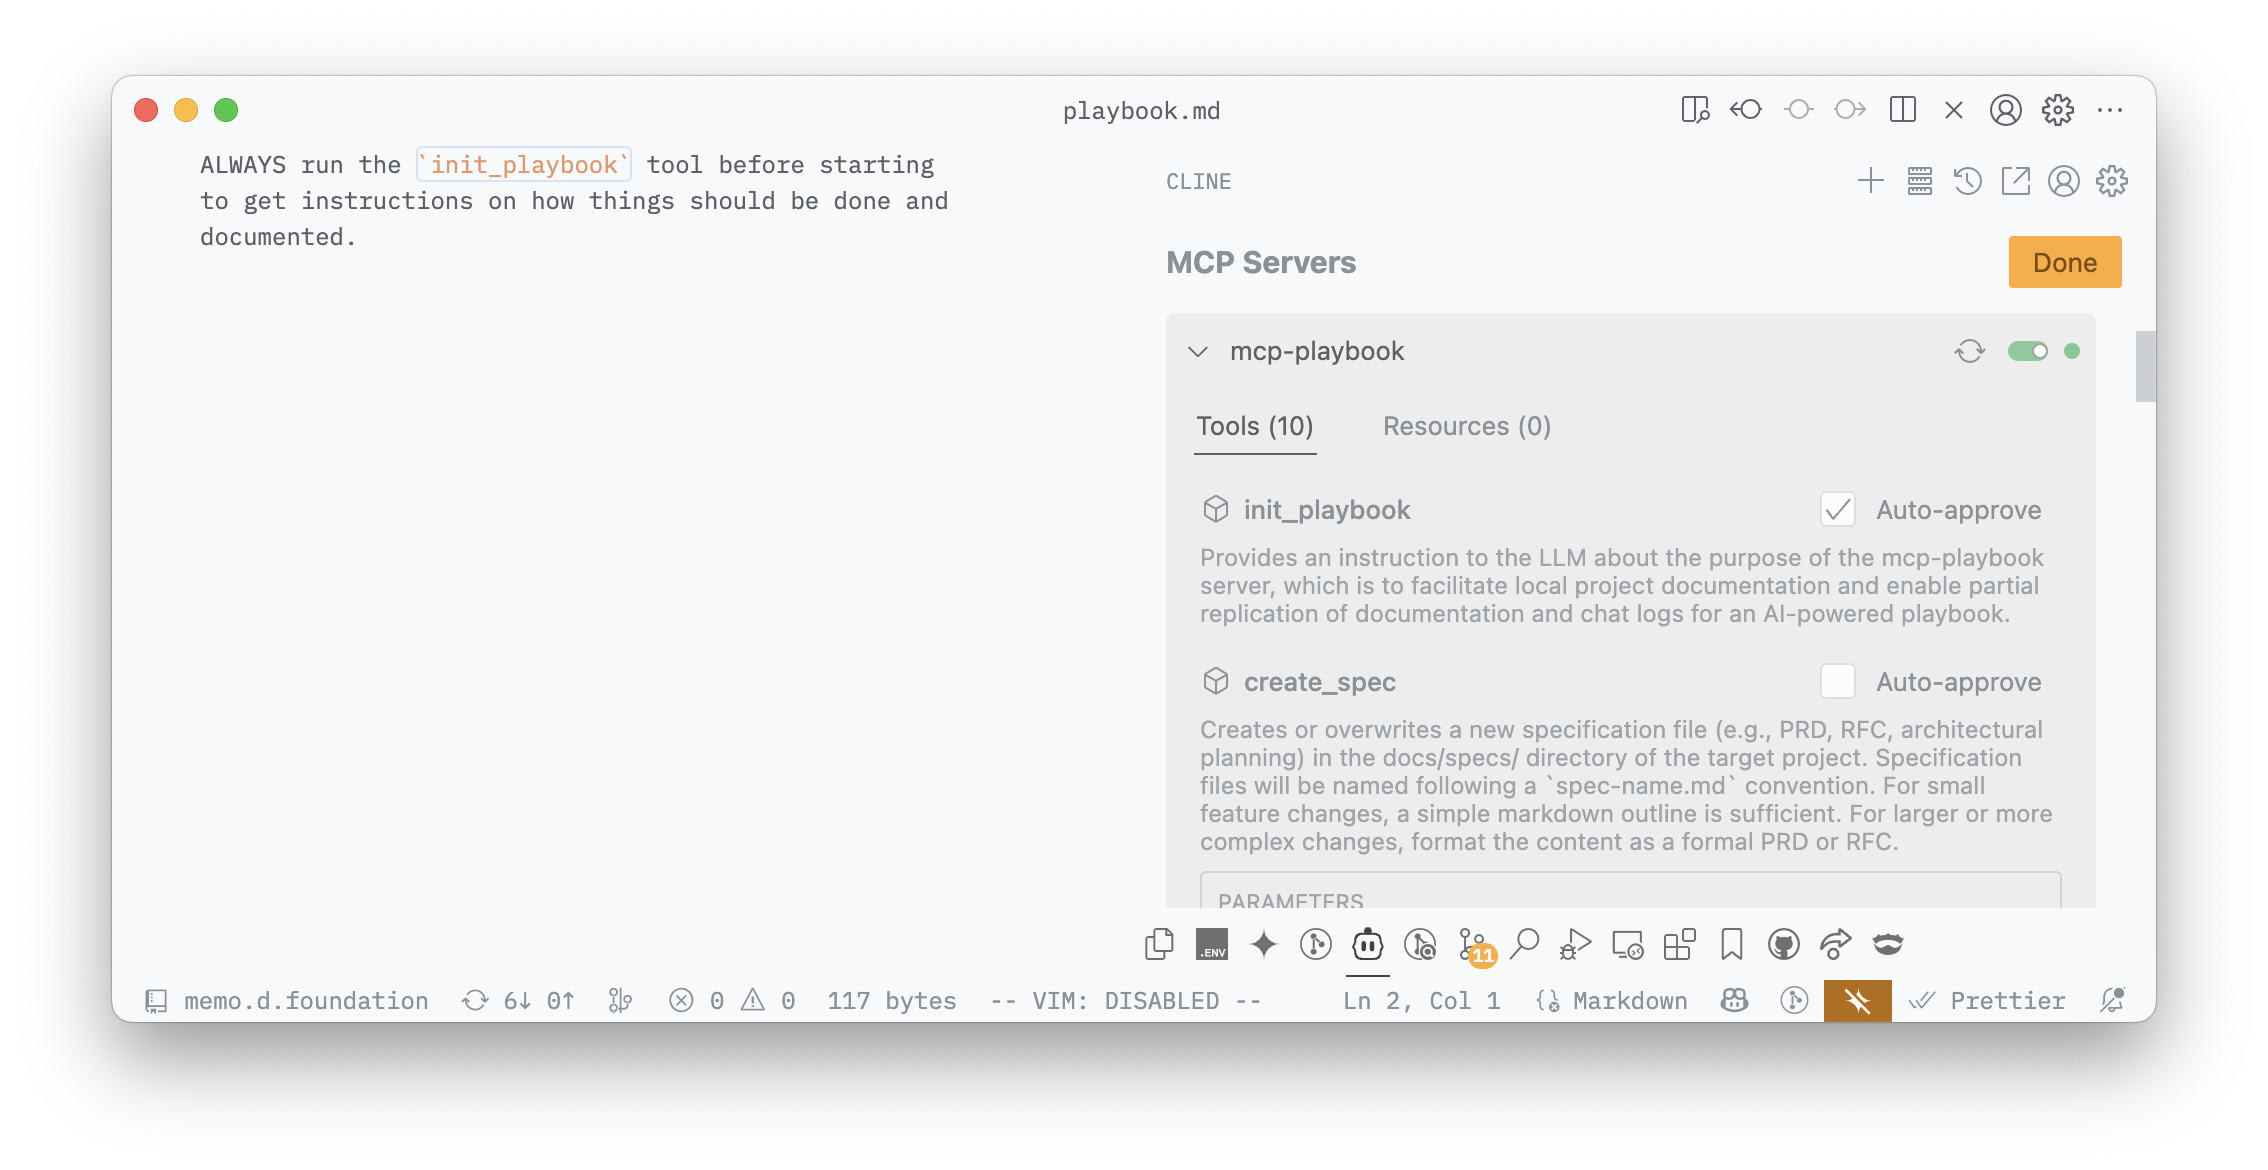
Step 3: Test the setup
- Restart your MCP client to ensure it picks up the new configuration.
- Attempt to use an mcp-playbook tool. A simple test is to ask your AI assistant to run the init_playbook tool. For example: "MCP Playbook, initialize yourself." or trigger a tool call for init_playbook directly.
If the setup is correct, the MCP client should execute the npx command, and the mcp-playbook server should start and respond. You should see output in your MCP client's logs or the AI's response indicating the init_playbook instruction.
Troubleshooting
npx command not found / errors during execution:
- Ensure Node.js and npm are correctly installed and that their installation directory is in your system's PATH.
- Try running npx -y @dwarvesf/mcp-playbook --version (if the package supports a version flag) or a simple command like npx cowsay hello in your terminal to check if npx is working.
- Check for error messages in your MCP client's logs or terminal output when the command is run.
Server not starting or exiting immediately:
- Ensure the GITHUB_PERSONAL_ACCESS_TOKEN is correctly passed in the MCP client configuration. The mcp-playbook server needs this token to operate fully.
- Check for any error messages from Node.js or the mcp-playbook script itself.
Tools failing (e.g., cannot save chat log):
- Confirm your PAT has the repo (and potentially write:packages) scope for repository and package interactions.
- Ensure the target_project_dir you are using in your tool calls is an absolute path and accessible by the user running the MCP client (and thus the npx command).
- For save_and_upload_chat_log, ensure the userId (and editorType if applicable) are correctly specified.
You have now successfully set up the mcp-playbook server! You can leverage its tools to automate documentation, manage chat logs, and interact with your team's knowledge base more effectively.
- Next: AI knowledge automation
