
SwiftUI introduces a way to write UI code declaratively. Can we use the same paradigm with UIKit? We will show you how.
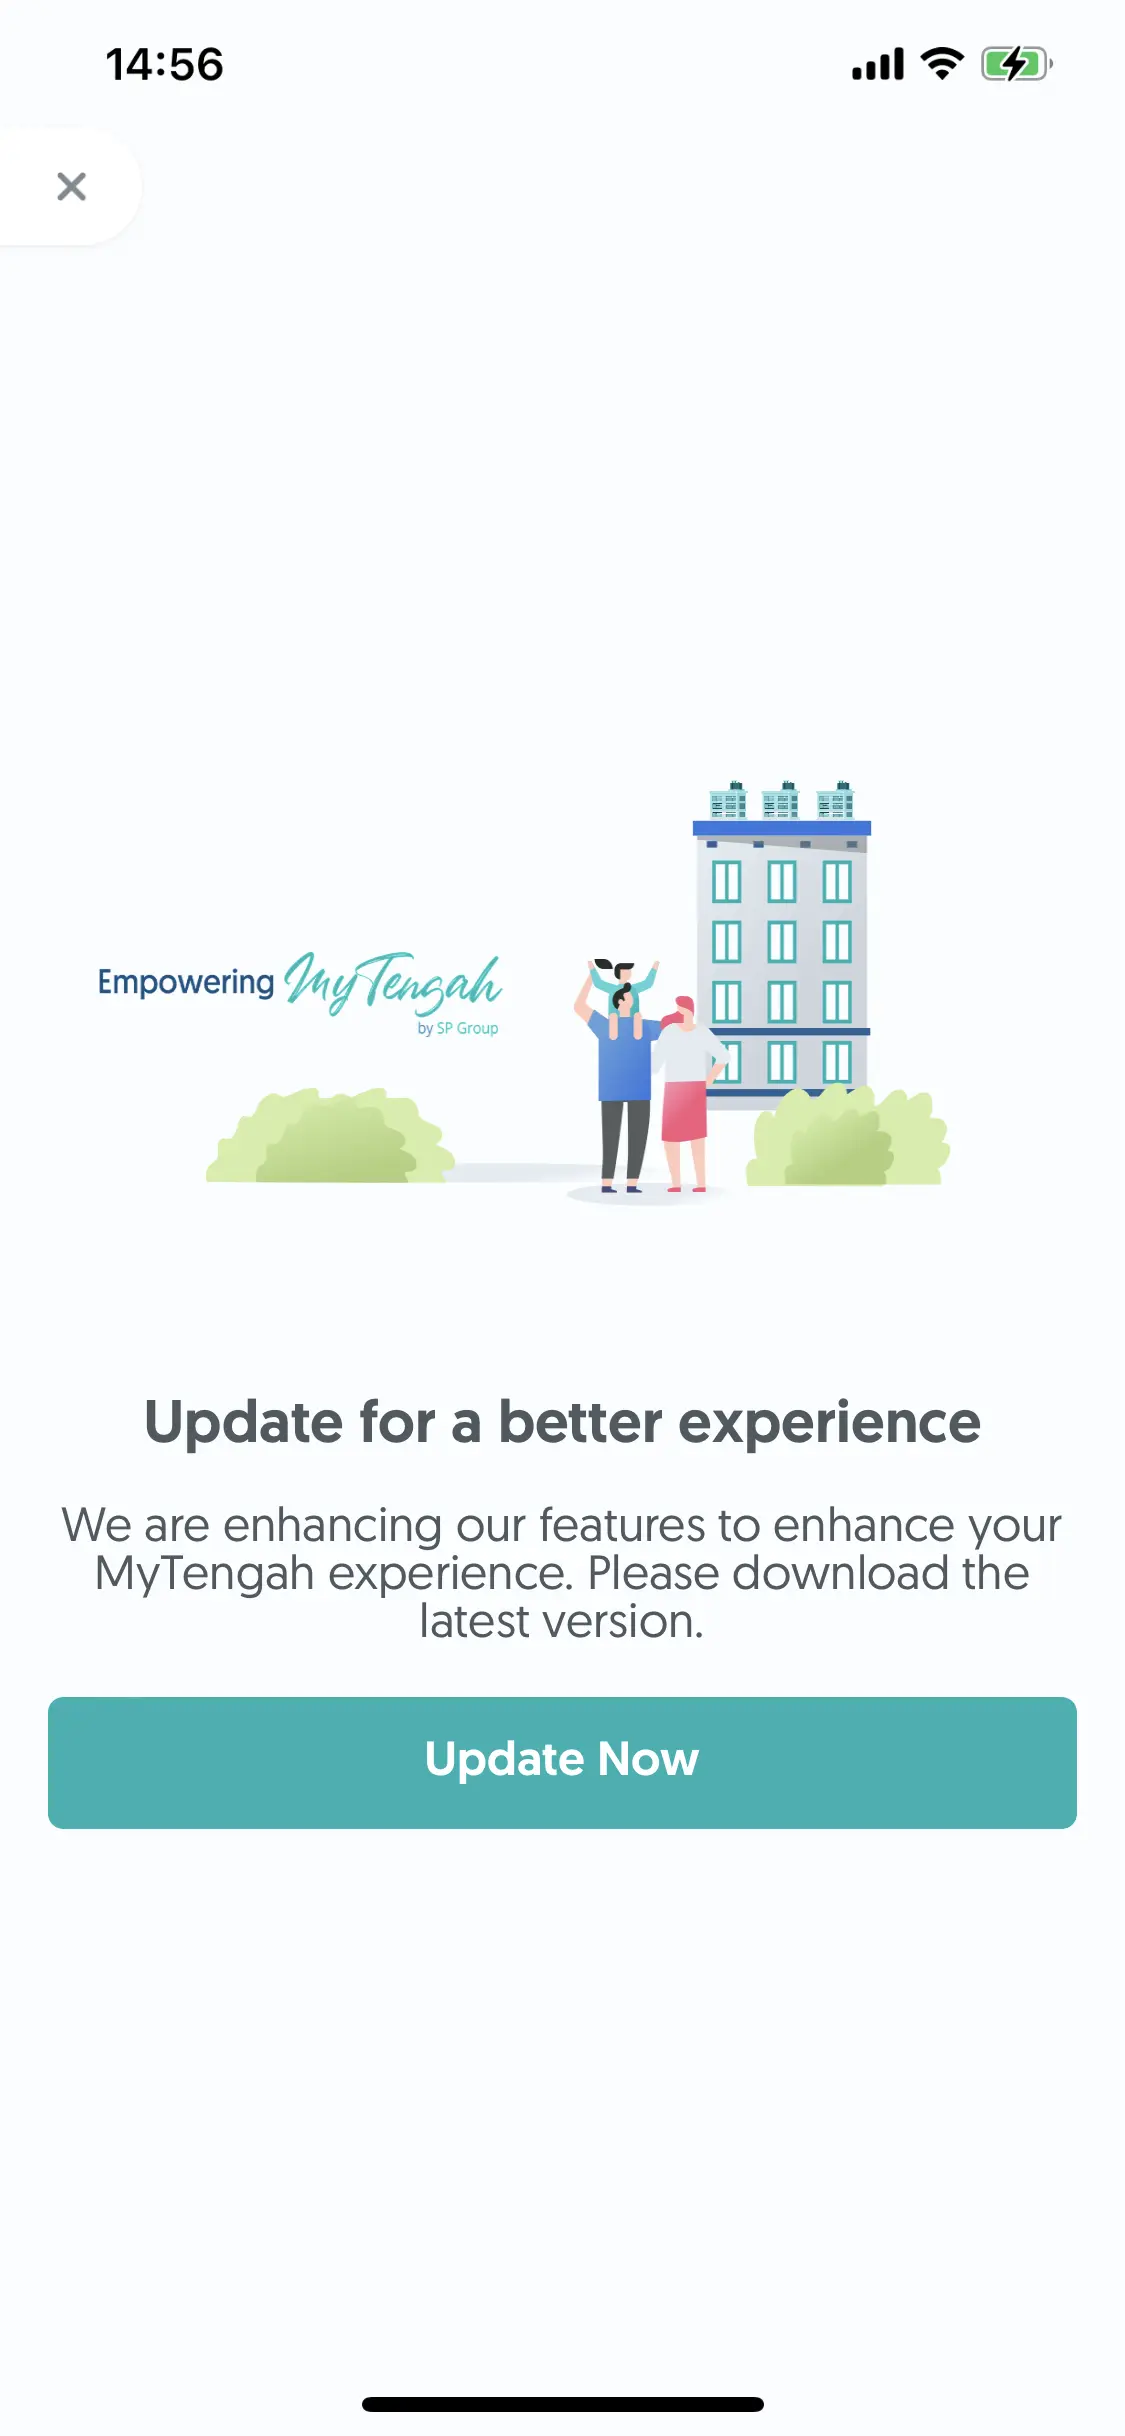
In this tutorial, we will explain how to create a user interface using the builder pattern, and the second part will show how to wrap a container element in Swift builder. In the end of this tutorial, you will be able to build UIs like this one:
Below is sample code for your reference.
let vStack = UIVStack {
    UIImageView(image: UIImage(named:"banner"))
    UIView()
        .backgroundColor(.clear)
        .heightAnchor(height: 20)
    UILabel()
        .text(title)
        .font(UIFont.systemFont(ofSize: UIFont.largeSize))
        .textAlignment(.center)
        .color(.black60)
    UILabel()
        .text(subtitle)
        .font(UIFont.systemFont(ofSize: UIFont.normalSize))
        .textAlignment(.center)
        .color(.black60)
        .numberOfLines(0)

    UIButton()
        .spStyle()
        .title("Update Now")
        .tap(action: { [weak self] in
            self?.navigateToAppStore()
        })
        .heightAnchor(height: 44)
}
How can we build a UI using Builder pattern
To write a simple Login form in the UIKit, we usually do:
let txtUserName = UITextField()
txtUserName.placeHolder = "User Name"
txtUserName.textColor = .black8
//For text change event.
txtUserName.delegate = self

let txtPassword = UITextField()
txtPassword.placeHolder = "Password"
txtPassword.textColor = .black8
//For hide password
txtPassword.style = .password
txtPassword.delegate = self
For a small project, it is acceptable to use your own design. However, with a large project, it is important to use standard design techniques so that the code can be reused and so that the application will be easy to maintain.
Usually, the original data type will be overridden and new components created following the style that the designer gives us. For example:
class MyStyleBlackTextFiled: UITextField {
	func setupUI() {
        self.textColor = .black8
        self.font = UIFont(systemFontOfSize: 18)
        self.backgroundColor = .white
    }
}

let txtUserName = MyStyleBlackTextFiled()
let password = MyStyleBlackTextFiled()
Everything is fine until one day the designer presents us with a new page, which contains different text, background color and font size.
We can create a new MyStyleRedTextField with the above implementation, but cannot reuse it as flexibly as we would like. How can we fix this?
One way is to use configuration settings like:
let textField = UITextField()

textField.config(textColor: .red, font: .system, backgroundColor: .white)

extension UITextField {
	func config(textColor: UIColor, font: UIFont, backgroundColor: UIColor) {
        //set
    }
}
However, what happens if we need to customize other properties of UITextField or add a new custom function? How can we sync with the design and reuse code?
Introduce to @discardableResult
Swift language offers @discardableResult, a feature that allows you to use or ignore the return value of a function without compiler or editor complaints.
For example, the following function returns a String:
func hello() -> String {
	"Hello"
}
Declare hello() then—The editor will warn you that hello() is not being used.
To silence it we can use the underscore character: _ = hello() or let _ = hello()
With @discardableResult
@discardableResult()
func hello() -> String {
	"Hello"
}
Use:
Declare hello(), and no warning happens
And you can assign a value to a variable with let helloString = hello().
Introduce to Extension
The iOS-MacOS developer is familiar with the concept of Extensions. With an Extension, we can add more functionality to existing Objects. For example:
extension UILabel {
    func textColor(_ color: UIColor) {
        self.textColor = color
    }
    func backgroundColor(_ color: UIColor) {
        self.backgroundColor = color
    }
}

use:
let label = UILabel()
label.textColor = .red
label .backgroundColor = .blue
Mixing @discardableResult with Extension is Builder.
extension UILabel {
    @discardableResult
    func text(_ string: String) -> UILabel {
        self.text = text
        return self
    }
    @discardableResult
    func textColor(_ color: UICOlor) -> UILabel {
        self.textColor = color
        return self
    }
}
Through the implementation of the above ideas, we can achieve:
let label = UILabel()
    .textColor(.red)
    .text("Hello")
Because label is a UILabel, you can still use any of its built-in functions and methods. For example, you can access information about it and set new properties.
let text = label.text
let background = text.backgroundColor

label.text = "ABC"
Create your own style by making an extension using the same technique.
extension UILabel {
    @discardableResult
    func myRedStyle() -> UILabel {
        self.textColor(.red).backgroundColor(.green)
        return self
    }
}

let redLabel = UILabel().text("I'm red").myRedStyle()
Using @discardableResult with Extension gives us all of the benefits of reusability, flexibility, maintainability, and the ability to expand our code while retaining the original data type.
